


By :
Tom
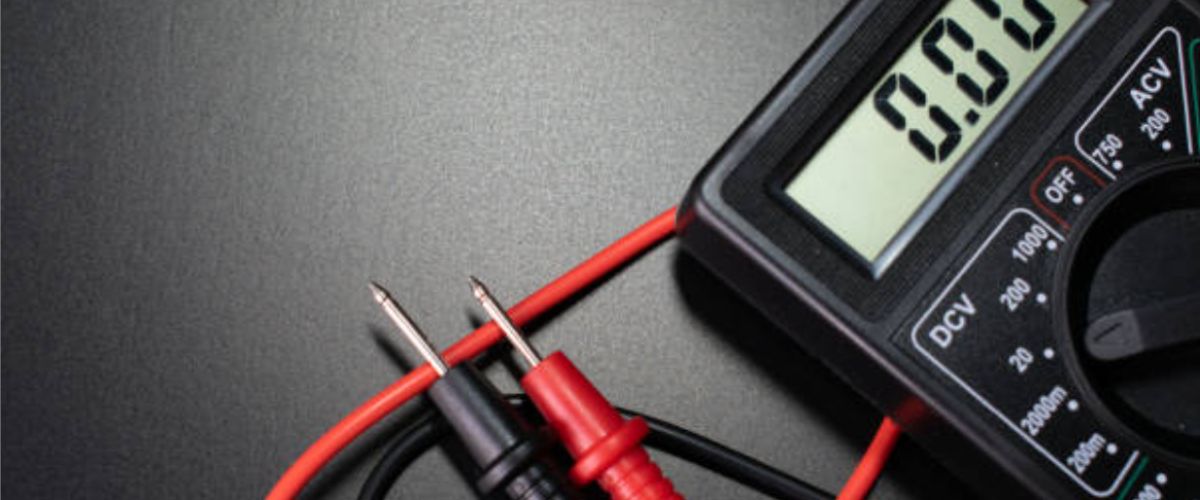
How do I test an electric bike battery using a multimeter?

Related posts

How long does it take to recharge an electric bike battery?
Published :
2024-02-01 08:22:03

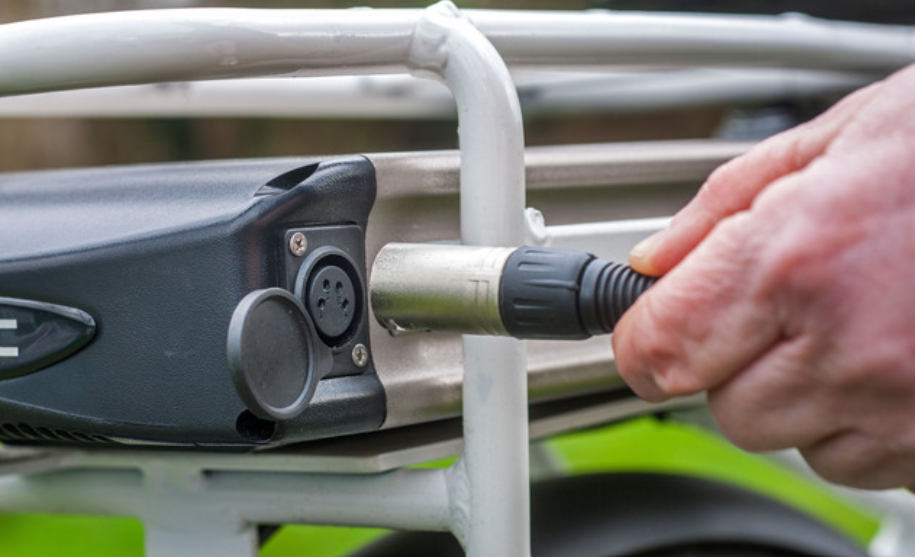
How to remove the battery from an electric bike: a practical guide
Published :
2024-02-16 08:57:28

Everything you need to know about the life of an electric bike battery
Published :
2022-01-21 09:30:10
