


Guaranteed Reviews

Free shipping from €299

Installment payment with no fees via Alma

2-year warranty
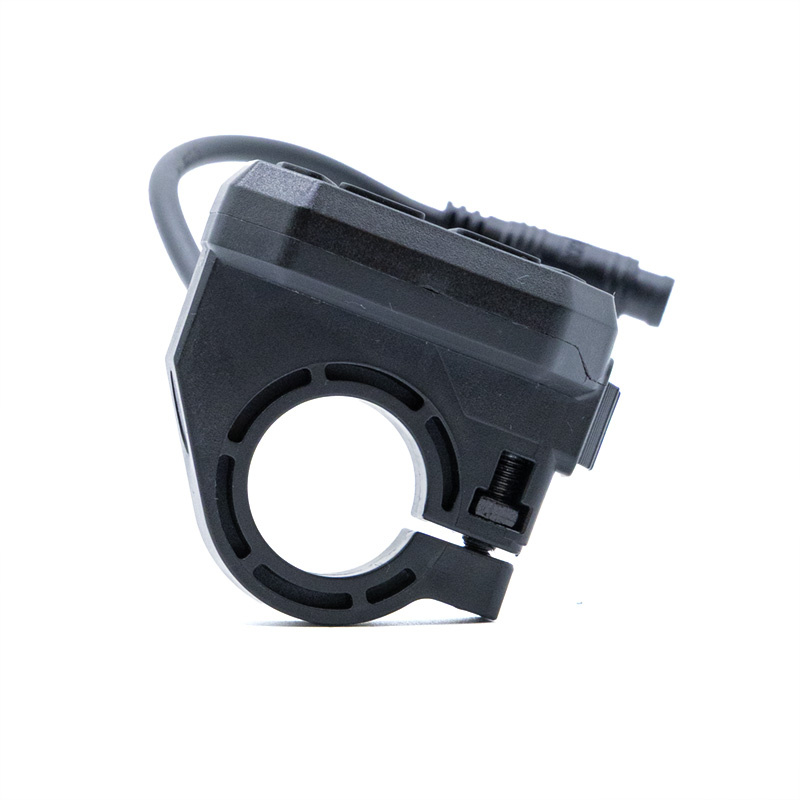
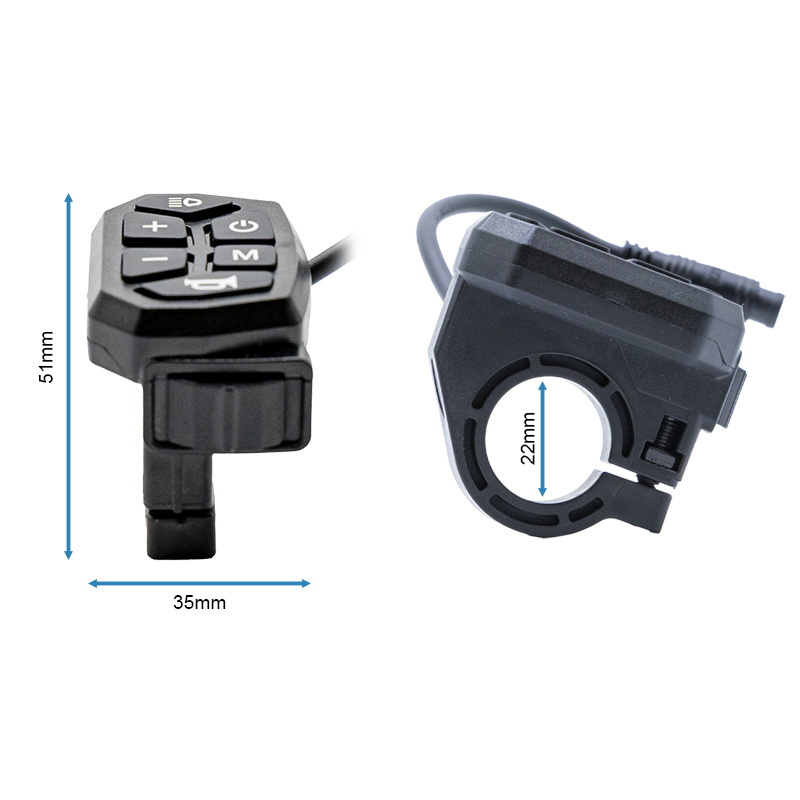
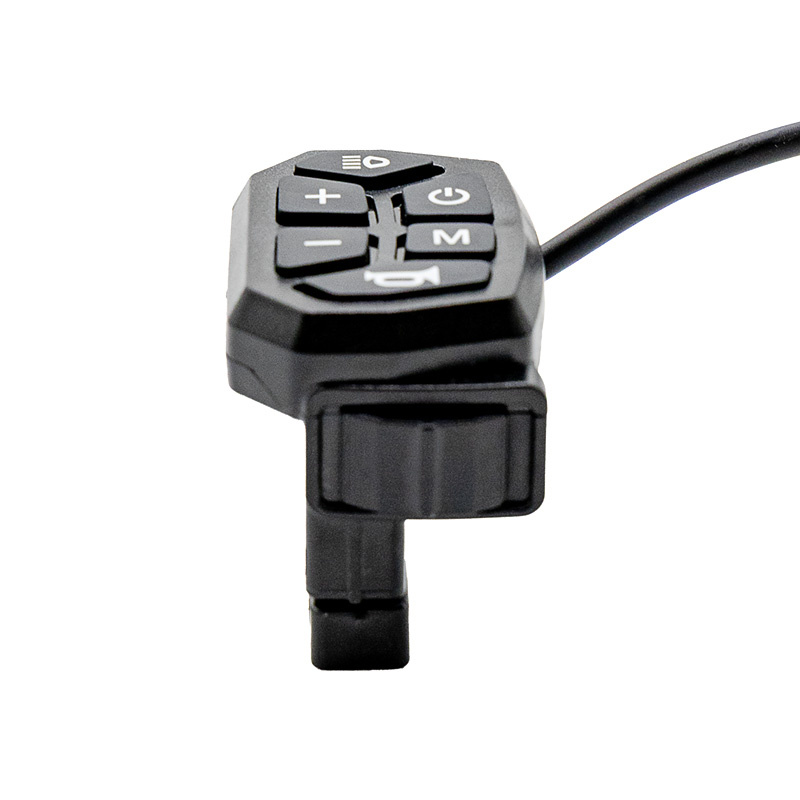
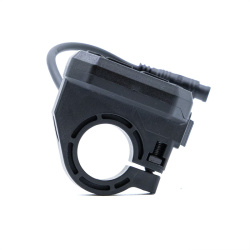
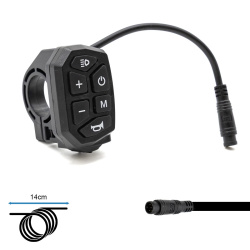
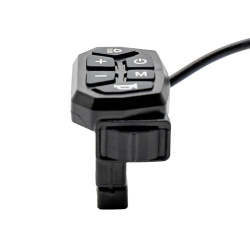
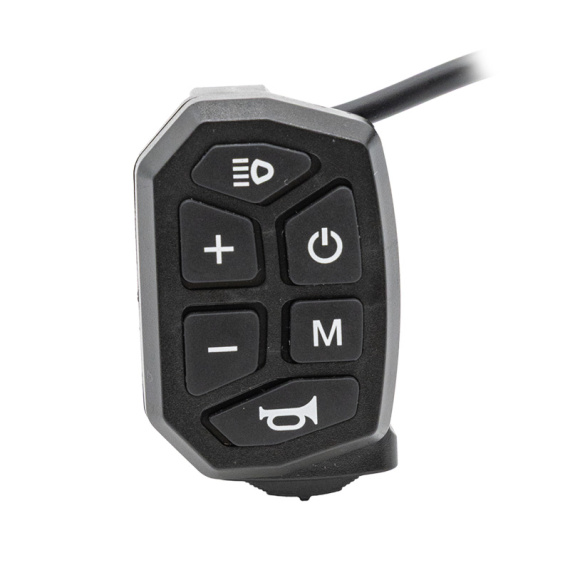
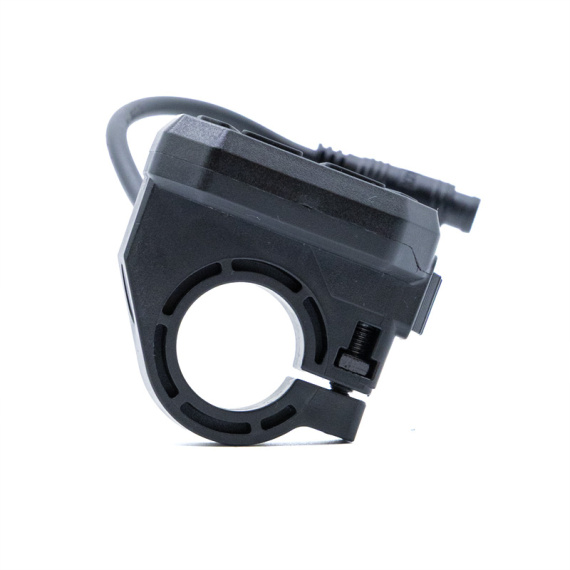
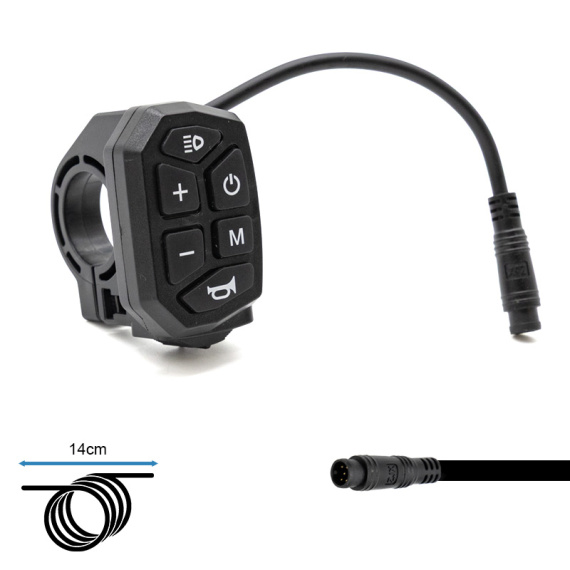
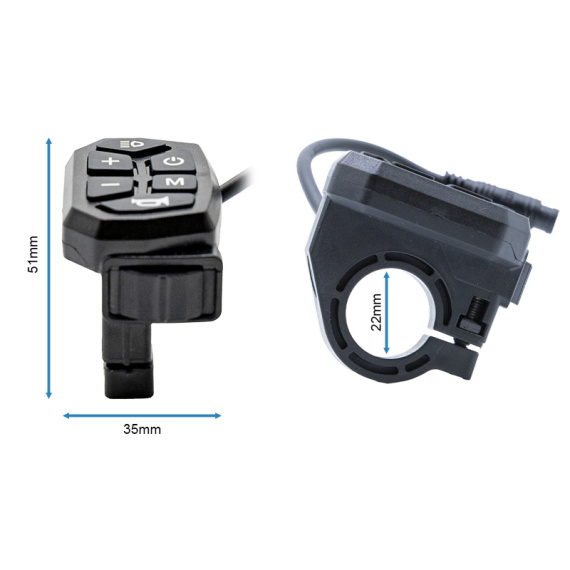
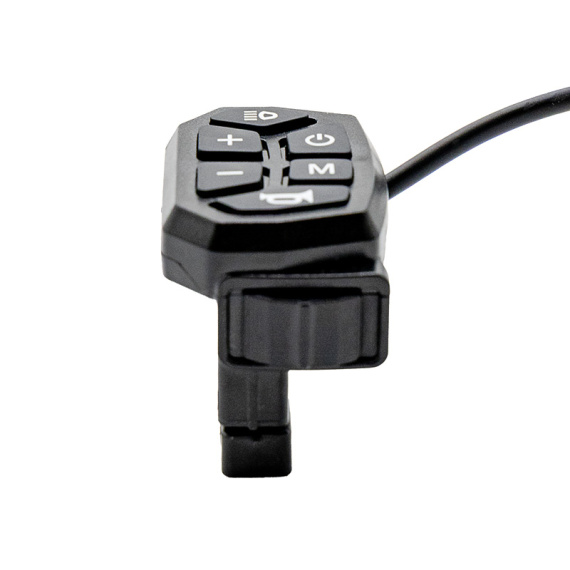
SMG MAX2 smartGyro control unit: anelectronic control unit designed to pilot and centralize the essential functions of an electric mobility vehicle. This control unit contributes to smoother, more controlled day-to-day use, by providing clear management of commands from a dedicated module.
Intended for the buttonhole and electronics category, this smartGyro control box is designed for replacement or refurbishment of a control system, with a focus on reliability and safety. It is part of a maintenance logic for electric mobility, when the original control system is damaged, worn or faulty.
Scroll down the page to see detailed technical specifications at the bottom ↓
Warranty : 2 years

Delivery in 3 to 5 business days
Free for orders over €299

Need help?
Contact one of our experts !

Returns within 14 days
Product overview
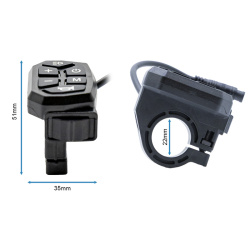
The SMG MAX2 smartGyro control unit is anelectronic component designed to control the main functions of a soft mobility device. This buttonhole centralizes user controls on a driver's station, for easy handling and more direct control during use.
User benefits
Designed to facilitate day-to-day use, this smartGyro control box helps to keep essential controls within easy reach, limiting unnecessary handling and making use more fluid. It's the ideal solution for replacing a malfunctioning control unit, or for repairing and restoring normal operation.
Technical specifications
Part type: control box / buttonhole.
Brand: smartGyro.
Families: Electronics, Buttonhole.
Model / designation: SMG MAX2 CONTROL BOX.
Recommended uses
This control box is recommended for electronic maintenance and after-sales service on smartGyro devices, particularly in the event of unresponsive controls, damaged button(s) or preventive replacement during refurbishment.
Compatibility
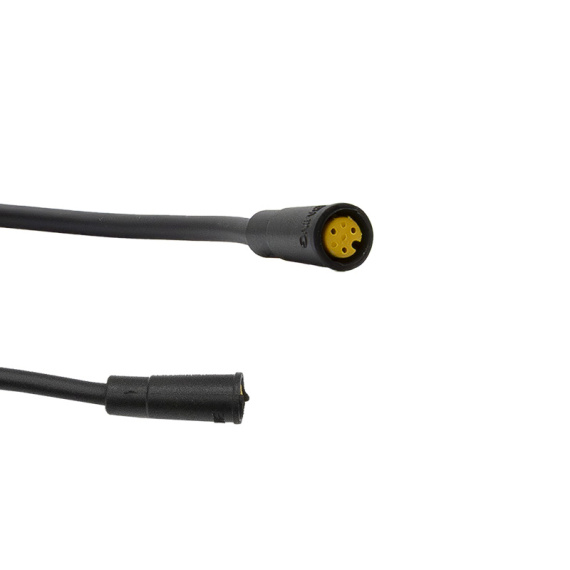
To avoid any installation errors, we recommend that you check the exact compatibility with your device (smartGyro model, connector type and harness) before ordering.
Installation and precautions
As this is acontrol electronics component, installation must be carried out with care: disconnect the power supply before installation, visually check the condition of the connectors and harness, and reassemble without stressing the cables. If in doubt, have the replacement performed by a qualified technician.
Expert advice
Before replacing a control box, check the condition of the harness (pinched cable, oxidation, loose connector), which can cause similar symptoms. When dismantling, take a photo of the connections and cable routing to ensure correct reassembly. After installation, test the controls at standstill before putting them back on the road.


![48V 25A 1200W-A LCD JP [J&P] controller](https://doctibike.com/16957-medium_default/48v-25a-1200w-a-lcd-jp-jp-controller.jpg)
![Xiaomi Mi5 Front Wheel [ORIGINAL]](https://doctibike.com/19893-medium_default/xiaomi-mi5-original-front-wheel.jpg)
![Black 300 W. 6.1/B34 engine for XIAOMI [eWheel]](https://doctibike.com/17452-medium_default/black-300-w-61-b34-engine-for-xiaomi-ewheel-.jpg)
![Tubeless radial tire E-Fire 55/250-6 (10x2.125-6) [PMT]](https://doctibike.com/19841-medium_default/e-fire-55-250-6-10x2125-6-pmt-radial-tubeless-tire.jpg)